Table of Contents
- Introduction: Understanding the Basics of Compression Fittings
- What Are Compression Fittings?
- Types of Compression Fittings:
- Tools and Materials Needed:
- Preparing the Pipes:
- Assembling the Compression Fitting:
- Tightening the Compression Fitting:
- Testing the Connection:
- Common Issues and Troubleshooting:
- Advantages of Using Compression Fittings:
- Conclusion: Mastering the Art of Compression Fittings
Introduction: Understanding the Basics of Compression Fittings
Compression fittings are an essential component in plumbing, providing a reliable and straightforward method for connecting pipes and fixtures. These fittings are widely used due to their ease of installation and effectiveness in preventing leaks. Understanding how they work can empower homeowners and professionals alike to handle plumbing tasks with confidence.
What Are Compression Fittings?
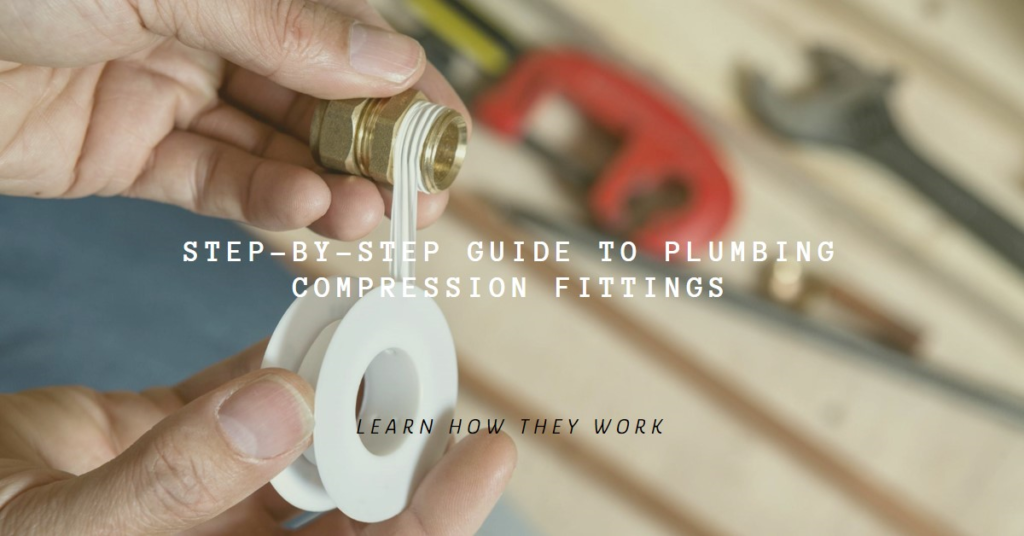
Compression fittings consist of three main parts: the compression nut, the compression ring (also known as a ferrule), and the compression seat. The compression nut tightens over the compression ring, which in turn compresses against the compression seat, forming a tight seal.
These fittings are commonly made from brass or plastic and are used in various applications, from connecting water supply lines to linking gas pipes. Their versatility and effectiveness make them a popular choice in both residential and commercial plumbing.
Types of Compression Fittings:
There are several types of compression fittings, each designed for specific applications. Standard compression fittings are used for general plumbing connections, while flare fittings are typically used for high-pressure gas connections.
In addition to these, there are push-to-connect compression fittings, which simplify the installation process even further. These fittings are especially useful in tight spaces where traditional tools might not be feasible. Understanding the different types of compression fittings helps in selecting the right one for each specific plumbing need.
Tools and Materials Needed:
Before starting the installation process, gather all necessary tools and materials. You will need a pair of adjustable wrenches, a tubing cutter, and a deburring tool.
In addition to these tools, ensure you have the correct size and type of compression fitting for your specific application. Having the right tools and materials at hand will streamline the installation process and reduce the likelihood of errors.
Preparing the Pipes:
Proper preparation of the pipes is crucial for a successful installation. Begin by cutting the pipe to the desired length using a tubing cutter. Ensure the cut is clean and square to avoid any issues during the fitting process.
After cutting the pipe, use a deburring tool to remove any rough edges or burrs. This step is essential to ensure a smooth fit and prevent potential leaks. Clean the pipe ends thoroughly to remove any debris or dirt before proceeding.
Assembling the Compression Fitting:
Start by sliding the compression nut onto the pipe, followed by the compression ring. Ensure the ring is positioned correctly, as improper placement can lead to leaks.
Next, insert the pipe into the fitting body until it reaches the internal stop. Slide the compression ring and nut towards the fitting body and start threading the nut onto the fitting by hand. Ensure the pipe remains fully inserted during this process.
Tightening the Compression Fitting:
Using a pair of adjustable wrenches, hold the fitting body steady while tightening the compression nut. Turn the nut until it feels snug, and then give it an additional quarter to half turn to ensure a tight seal.
Be cautious not to overtighten the nut, as this can damage the compression ring and lead to leaks. Proper tightening ensures a secure connection and prevents future issues.


Testing the Connection:
Once the compression fitting is tightened, it is essential to test the connection for leaks. Turn on the water supply and observe the fitting closely. Look for any signs of water escaping from the joint.
If a leak is detected, tighten the compression nut slightly more and test again. It is crucial to address any leaks immediately to prevent water damage and ensure the integrity of the plumbing system.
Common Issues and Troubleshooting:
Despite their simplicity, compression fittings can occasionally present issues. One common problem is an improperly seated compression ring, which can cause leaks. If this occurs, disassemble the fitting, check the ring’s position, and reassemble.
Another issue could be a damaged compression ring or nut. In such cases, replacing the damaged part is necessary to achieve a proper seal. Regular inspection and maintenance can help identify and address these issues promptly.
Advantages of Using Compression Fittings:
Compression fittings offer several advantages, making them a preferred choice in many plumbing applications. Their ease of installation and removal allows for quick and efficient repairs and modifications.
Additionally, compression fittings do not require soldering or specialized tools, making them accessible to both professionals and DIY enthusiasts. Their ability to provide a reliable, leak-proof seal further enhances their appeal in various plumbing projects.
Conclusion: Mastering the Art of Compression Fittings
Understanding how compression fittings work and mastering their installation can significantly enhance your plumbing skills. With the right tools, knowledge, and attention to detail, you can achieve secure, leak-free connections in your plumbing system. Whether you are a seasoned professional or a DIY enthusiast, the simplicity and effectiveness of compression fittings make them an invaluable tool in your plumbing arsenal.